
Hướng dẫn cách lấy giá trị của thẻ select bằng JavaScript. Thẻ select được sử dụng để tạo drop down menu và bạn sẽ biết cách lấy giá trị thẻ select, cách băt Sự kiện select trong Javascript cũng như cách thêm option vào select trong JavaScript sau bài học này.
Tạo drop down menu bằng thẻ select trong HTML
Để tạo drop down menu bằng thẻ select trong HTML, chúng ta sử dụng tới thuộc tính option của thẻ select như sau:
<select> |
Chúng ta có thể sử dụng kèm thẻ label để hiển thị dòng ký tự phía trước drop down menu như sau:
<label for="fruit">Hãy lựa chọn</label> |
Để có thể biết option nào đang được lựa chọn, hãy đặt giá trị value cho các option bằng các giá trị khác nhau như sau:
<label for="fruit">Hãy lựa chọn</label> |
Để đặt một trong các option được chọn theo mặc định, hãy đặt thuộc tính selected trên option đó như sau:
<label for="fruit">Hãy lựa chọn</label> |
Để có thể lựa chọn nhiều option cùng lúc, hãy đặt thuộc tính multiple cho thẻ select như sau:
<label for="fruit">Hãy lựa chọn</label> |
Lấy giá trị của thẻ select trong JavaScript
Để lấy giá trị của thẻ select trong JavaScript, chúng ta sử dụng tới thuộc tính value của HTMLSelectElement Object, là đối tượng đại diên cho select Element với cú pháp sau đây:
element.value
Trong đó element là Element chỉ đến select được lấy từ trong DOM thông qua một số phương thức, ví dụ như getelementbyid chẳng hạn.
Khi đó, giá trị value của option đang được lựa chọn trong drop down menu tạo bởi thẻ select sẽ được trả về.
Ví dụ, để lấy giá trị của thẻ select có id = myselect, chúng ta viết như sau:
let element = document.getElementById('myselect'); |
Với HTMLSelectElement Object thu về, bằng cách sử dụng thuộc tính element.options, chúng ta có thể lấy danh sách các option có trong thẻ select, sau đó có thể tham chiếu đến từng opiton thông qua index của nó.
Ví dụ, chúng ta có thể tham chiếu tới option chỉ định và đặt giá trị selected cho option đó bằng các giá trị true false như sau:
let element = document.getElementById('myselect'); |
Sau đây hãy cùng xem demo cách Lấy giá trị của thẻ select trong JavaScript với mã HTML dưới đây:
|
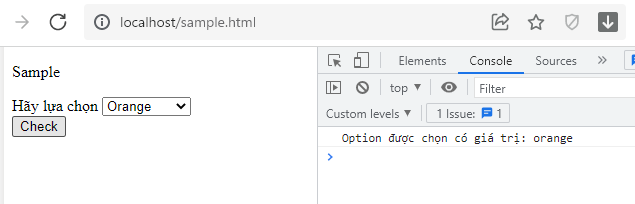
Với mã lệnh này, chúng ta đã tạo ra 1 drop down menu bằng thẻ select, với 3 option để người dùng lựa chọn, và một nút check để lấy giá trị của thẻ select. Trong đó, option thứ 3 được đặt ở trạng thái selected bằng cách sử dụng fruitSelect.options[2].selected = true.

Bạn có thể lựa chọn một option từ bên trong thẻ select, sau đó lấy giá trị của option đã lựa chọn này bằng cách click vào nút check như sau:
Lấy giá trị của thẻ select khi có nhiều option được chọn trong JavaScript
Để lấy giá trị của thẻ select khi có nhiều option được chọn trong JavaScript, chúng ta sử dụng tới thuộc tính selectedOptions của HTMLSelectElement Object, là đối tượng đại diện cho select Element với cú pháp sau đây:
element.selectedOptions
Khi đó, danh sách các option đang được chọn trong thẻ select sẽ được trả về. Chúng ta có thể tham chiếu tới từng option trong đó để lấy giá trị của chúng, với mã lệnh sau đây:
let element = document.getElementById('myselect'); |
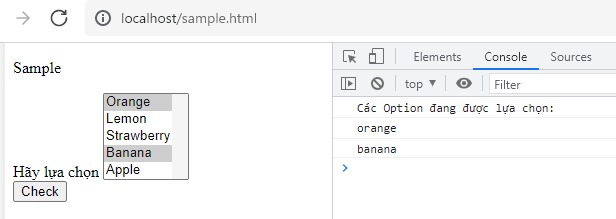
Sau đây hãy cùng xem demo cách lấy giá trị của thẻ select khi có nhiều option được chọn trong JavaScript với mã HTML dưới đây:
|
Sau khi click vào nút check, các option đang được lựa chọn sẽ được xuất ra màn hình console như sau:
Bắt sự kiện select trong JavaScript
Khi chúng ta chọn một option mới trong thẻ select, sự kiện change sẽ xảy ra.
- Xem thêm: Sự kiện change trong JavaScript
Do vậy, chúng ta có thể bắt sự kiện select trong JavaScript thông qua sự kiện change để xử lý thẻ select.
Ví dụ chúng ta có mã để xử lý sự kiện change như sau:
<select id="fruit"> |
Sau đây là demo về cách bắt sự kiện select trong JavaScript:
|
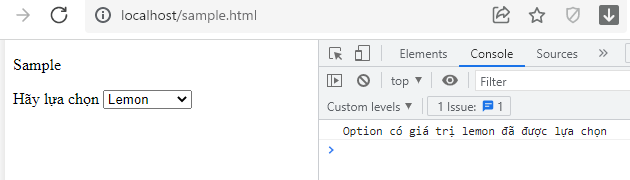
Với mã lệnh này, chúng ta đã tạo ra 1 drop down menu bằng thẻ select, với 3 option để người dùng lựa chọn như sau:
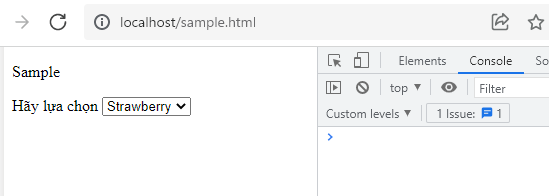
Khi lựa chọn một option mới từ trong thẻ select, sự kiện change xảy ra giúp chúng ta bắt sự kiện select và lấy giá trị select selected trong JavaScript như sau:
Thêm option vào select trong JavaScript
Để thêm option vào select trong JavaScript, chúng ta có thể sử dụng tới phương thức createElement và appendChild mà Kiyoshi đã giới thiệu trong chuyên đề về DOM.
- Xem thêm: createElement trong JavaScript
- Xem thêm: appendChild trong JavaScript
Về cách làm, chúng ta sẽ tạo ra option mới bằng phương thức createElement, rồi chỉ định giá trị thuộc tính text và value cho nó.
Sau đó chỉ việc dùng phương thức appendChild để thêm opption này vào select ban đầu là xong.
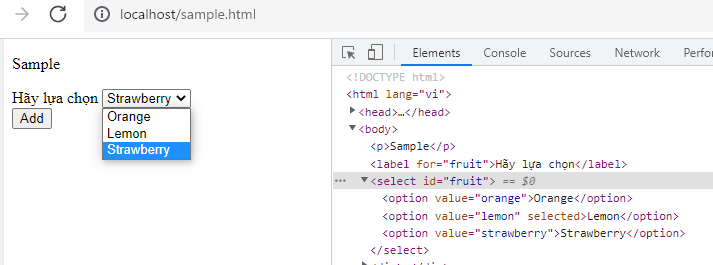
Ví dụ chúng ta có thẻ select với các option sau:
<label for="fruit">Hãy lựa chọn</label> |
Để thêm một option vào select trên, chúng ta viết:
function addOption() { |
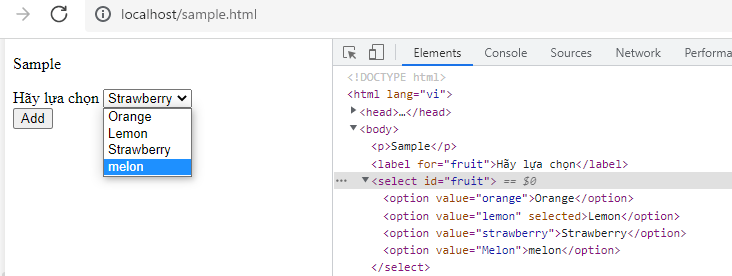
Sau đây hãy cùng xem demo về cách Thêm option vào select trong JavaScript:
|
Với mã lệnh HMTL này, ban đầu chúng ta có 1 thẻ select với 3 option sau:
Sau khi click vào nút add, option mới với giá trị value = Melon đã được thêm vào cuối thẻ select như sau:
Tổng kết
Trên đây Kiyoshi đã hướng dẫn bạn về thẻ select trong JavaScript rồi. Để nắm rõ nội dung bài học hơn, bạn hãy thực hành viết lại các ví dụ của ngày hôm nay nhé.
Và hãy cùng tìm hiểu những kiến thức sâu hơn về JavaScript trong các bài học tiếp theo.
URL Link
HOME › học javascript - lập trình javascript cơ bản>>17. form trong javascript